Goal Animation for Your Scoreboard: a 10-Step Tutorial
Build your own goal animation for the scoreboard: scorer's name, goal pose, club colours and a goal jingle. A step-by-step LemonScore tutorial.

Dario Tschannen
Published on
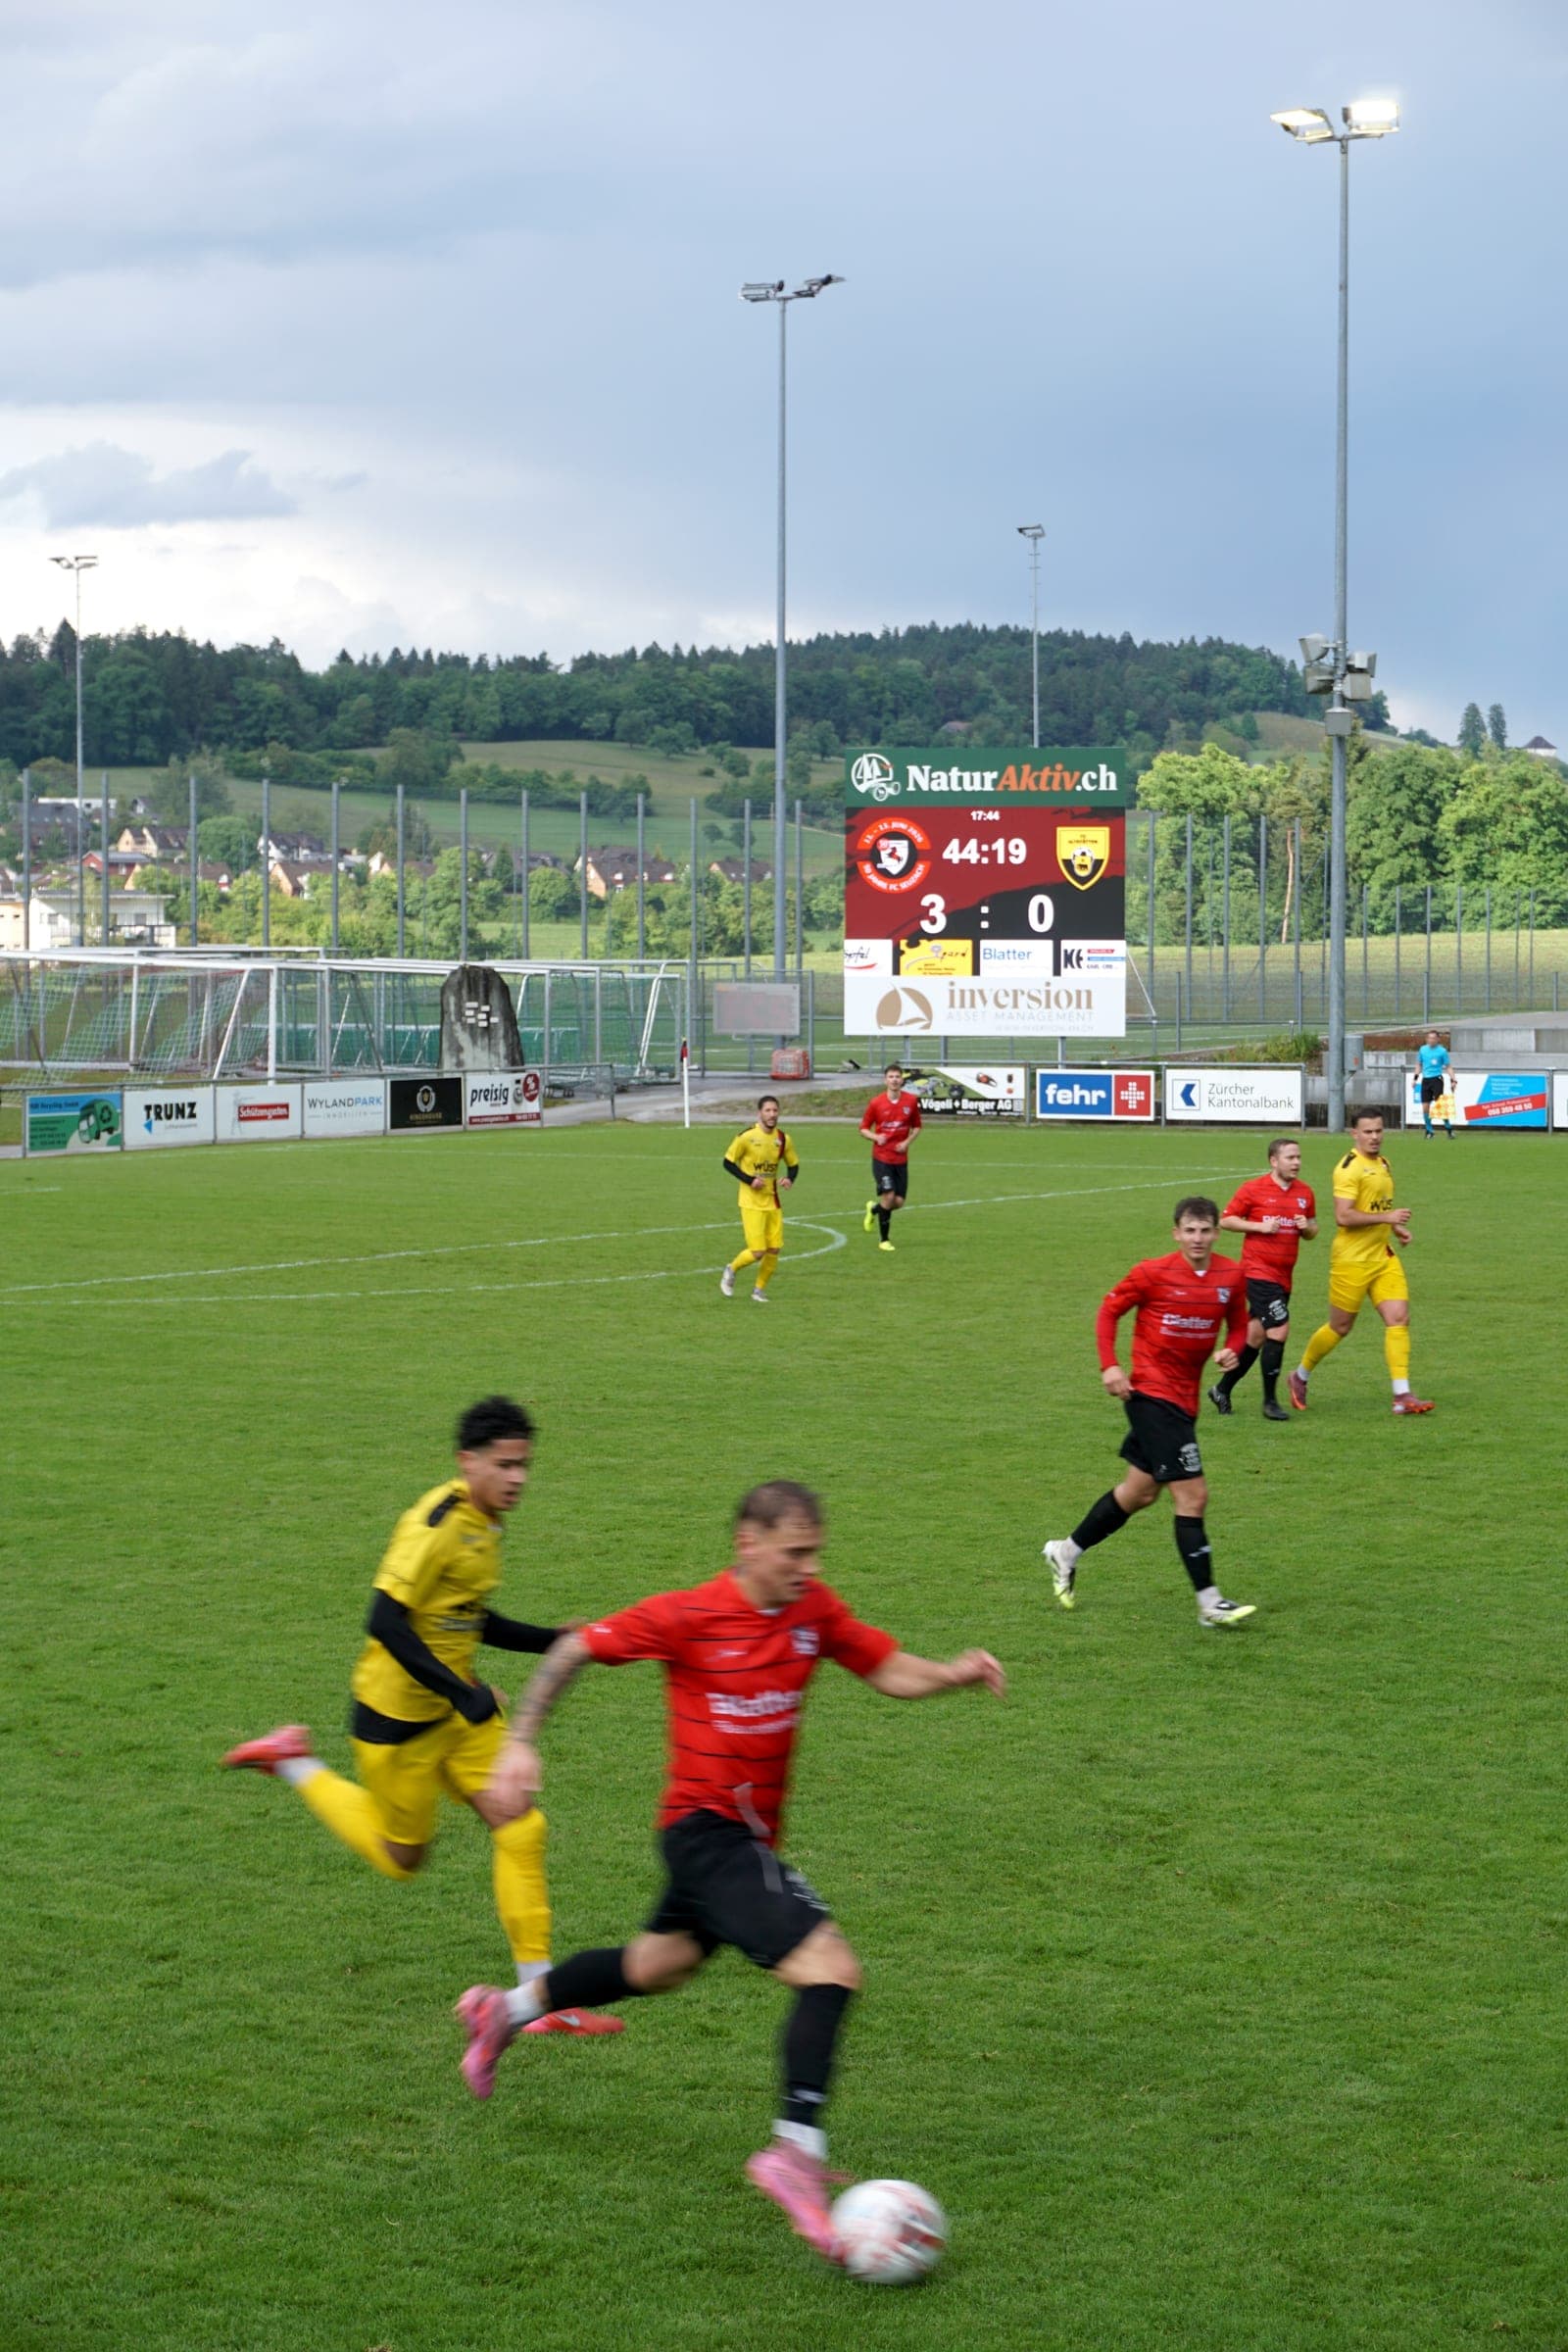
The ball hits the net, the stand erupts, and the LED screen shows the scorer's name, a celebration photo, the club colours and the goal jingle. You don't need an agency for a goal animation on your scoreboard like that. With the LemonScore animation editor you can build one yourself in about 10 minutes, starting from a ready-made template. This tutorial takes you from an empty set to triggering the animation on match day.
For an overview of everything the editor can do, read Animation editor: custom animations for your scoreboard. This post is about one concrete result: your own goal celebration. What the scoreboard software does beyond animations is on its overview page.
What to have ready
A quick check before you open the editor saves you from stopping halfway.
- Teams with players: name, shirt number and portrait entered under Teams.
- Goal pose photos (optional): one per player, ideally a cut-out PNG. Without a goal pose, the animation shows the portrait.
- Your club colours as hex codes, for example
#0A6E3Cfor green. You will often find them in the logo files or on the club website. - A goal jingle as an audio file that you have the rights to play (more on that below).
- LemonScore on any plan. The animation editor is included in every plan, including the demo.
Step 1: Create your own animation set
The built-in Default set can't be edited, so you need a set of your own.
- Open Settings › Animations.
- Click New Set, enter a name such as "Riverside FC" and keep the default of 1920 × 1080 or enter your LED screen's resolution.
- Open the new set's ⋮ menu › Edit.
You now see all the animations in the set, each marked Not configured. That is exactly what we want: LemonScore only offers the starter templates for an empty animation.
Want to keep the default look for the other animations (cards, substitution, pre-game)? Then duplicate the Default set with ⋮ › Duplicate instead. The goal animation in the copy is already designed, so you adjust it directly and skip step 2.
Step 2: Start from the "Player spotlight" template
- Click Edit on Goal.
- In the Start from dialog, choose Use a template.
- Pick Player spotlight.

The template comes with five elements: a dark background, the player image on the right, the "GOAL!" title, the player's name and the team name. Name and team are Dynamic Text, so on match day they fill in automatically with whichever player you select.
One catch: a starter template on its own does not count as a change. Adjust at least one element and save, otherwise the animation stays empty.
Step 3: Show the goal pose instead of the portrait
The starter templates use the Player Portrait. A celebration shot works much better for a goal.
- Click the player image in the preview.
- In the Style tab on the right, set Data Binding to Player Image (matching the animation).
This variable shows the goal pose for goals, the card pose for cards and the portrait otherwise. That pays off later when you copy the layout to the card animations. Alternatively, bind it to Player Goal Pose.
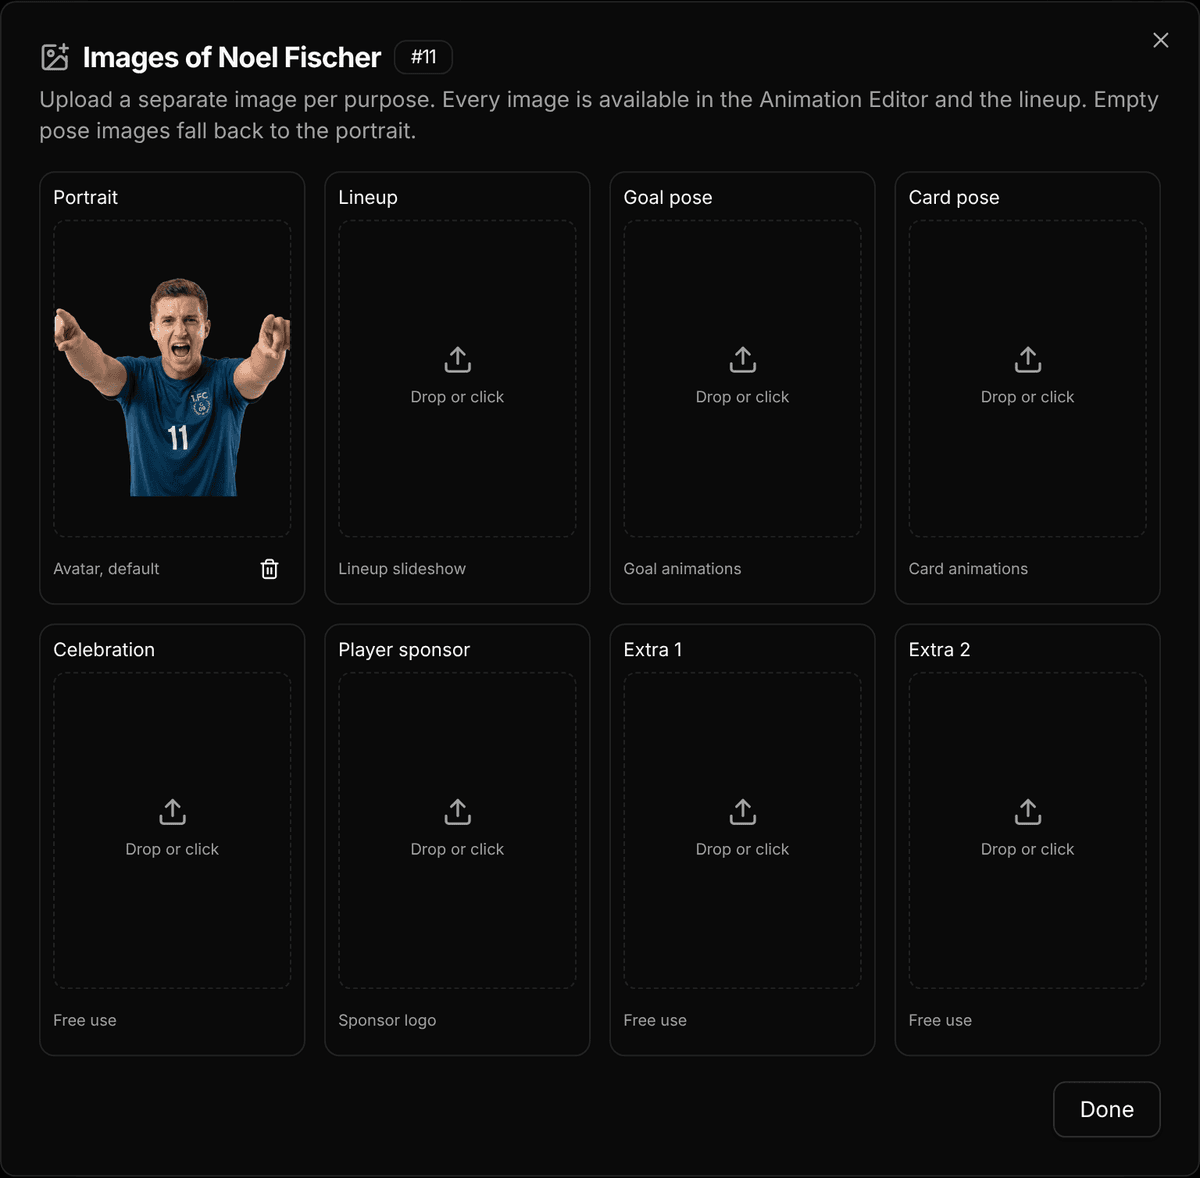
You upload the photos under Teams: click the image button in the player row and drop the photo onto the Goal pose tile. If there is no goal pose, the portrait is shown. More in the post on player images and team staff.
Step 4: Show the goal scorer's name and number
The player name is already there. Add the shirt number:
- At the top left of the timeline, click Dynamic Text.
- Under Data Binding, choose Jersey Number.
- Move the element below the name and set the Font Size and Font Weight.
Other handy text variables are Team Name, Team Score, Team 1 Score and Team 2 Score, and Match Minute. That way the animation can show "67'" or the new score as well.
Use Preview Data (the eye icon at the top) to pick a real player from your teams. You will see straight away whether a long double-barrelled name still fits on one line.
Step 5: Apply your club colours
- Click the background. Under Fill, choose Solid and enter your club colour, or choose Linear or Radial for a gradient with Start color, End color and Angle.
- Click each text element and change its Color. The template uses yellow for the name; swap it for your second club colour.
- Pick a typeface that suits your club under Font Family.
A Rectangle shape makes a colour bar behind the name. An Image element holds the club crest, or use a Dynamic Image bound to Team Logo, so the right crest appears when the away side scores too.
Step 6: Set the movement in Simple mode
- Select an element and open the Animate tab.
- Leave Animation mode on Simple.
- For In, try Slide in or Pop; for While on screen, Pulse works well on the title; for Out, try Zoom out.
- Fine-tune with Speed, Move and Feel.

Select several elements and click Stagger entrances. Title, name and number then appear one after the other, which feels far livelier.
You only need Advanced if you want to animate individual properties freely, for example a crest that grows while it fades in. In that case, click the stopwatch next to a value in the Style tab and set keyframes on the timeline.
Step 7: Set the duration
Duration at the bottom right of the timeline is in milliseconds. The starter template begins at 15000 ms, which is 15 seconds. That is long for a goal: play restarts and spectators want to see the score again. Set it to 6000 to 8000 ms.
Set the duration before you add the sound, because the audio section is sized to the length of the animation.
Step 8: Add your goal jingle
- In the Audio row, click Add sound or drag the file onto it.
- In the Choose audio section dialog, drag the highlighted window to the part of the track you want, usually the chorus. The space bar plays it.
- Click Use this section.
- Click the soundtrack in the timeline and set Volume, Start delay, Fade in and Fade out (up to 4000 ms each). A short fade-out stops the jingle cutting off abruptly.

Don't forget the music licence
Playing music in public on match day usually needs a licence. In Switzerland that goes through SUISA, in Germany through GEMA, and it applies to a ten-second goal jingle too. What your club actually needs and what it costs is covered in our posts on music licensing for football clubs in Switzerland and in Germany.
Step 9: Save and activate the set
- Click Save or press Ctrl+S (Cmd+S on a Mac).
- Use the arrow at the top left to return to the set.
- Make sure the eye icon on Goal is set to Show on controller.
- In the list of sets, click Activate. Exactly one set is active at a time.
The video shows the set and the editor in action, using a custom animation as the example:
Then use the copy icon, Copy Layout to..., to transfer your design to Yellow Card, Red Card and the other animations in the set. After that you only change the colours. Animations the active set has not designed appear greyed out on the controller.
Step 10: Trigger the goal animation on match day
Your design is now the goal animation of the active set. You can play it in several ways:
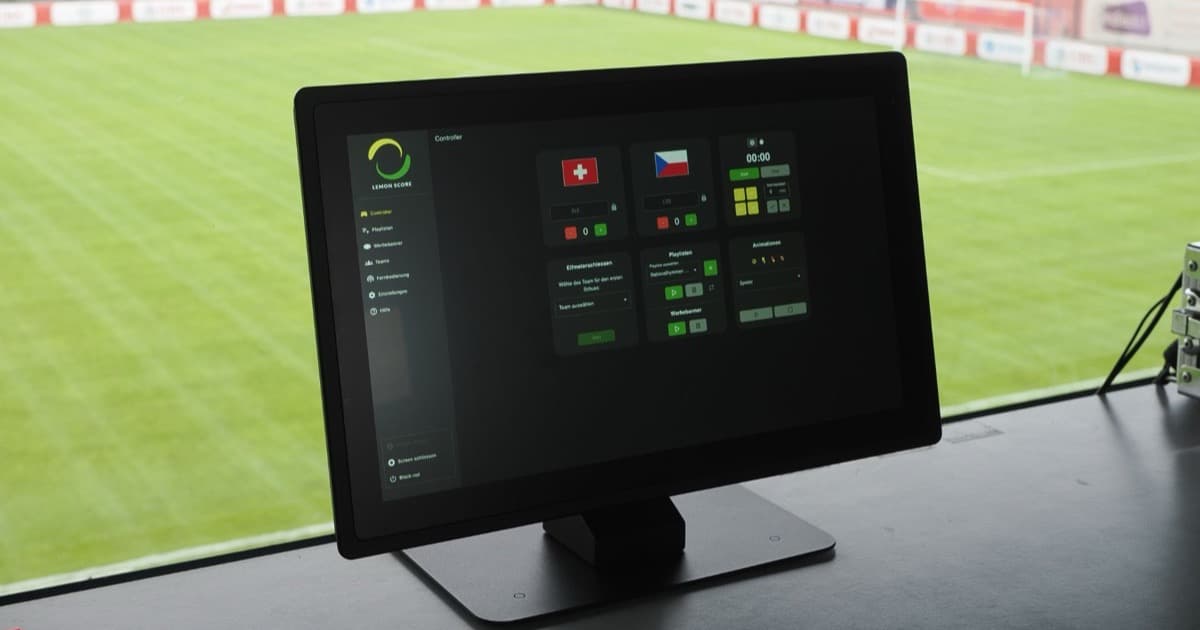
- Controller: on the Animations card, click Goal, pick the team, click the player and then Play Animation. General shows the team logo instead of a player.
- Remote control and mobile app: the same tile in the browser or on a phone, handy for the announcer by the pitch. See Remote control and Mobile app.
- Stream Deck: the Animation action plays the goal animation with player selection right on the keys. See Stream Deck.
- Shortcuts: a custom button with up to 5 actions. See Shortcuts.

The animation does not add the goal to the score. You still update the score on the controller as usual. A shortcut can do both, for example a "Home goal" button with Score +1 for the home team followed by Play Animation with Whole team. For an animation with the scorer, the controller or Stream Deck is quicker, because you pick the player at the moment of the goal. Shortcuts and Stream Deck need the Pro plan; the controller, remote control and mobile app are in every plan.

Design tips for a goal animation that works
- Readable from a distance: at an amateur ground, many spectators stand on the far side of the pitch, a long way from the scoreboard. Big type, few words, no sentences. How size and viewing distance relate is explained in scoreboard size and viewing distance.
- 5 to 8 seconds: long enough for the name and photo, short enough to get the score back quickly.
- Strong contrast: light text on a dark background or the other way round. Subtle gradients and thin fonts get lost on LED screens with a larger pixel pitch.
- One thing at a time: "GOAL!" first, then the name, then the number. Stagger entrances does this for you.
- Sponsor after the goal: a goal sponsor is a popular sponsorship package. Place the sponsor's logo as an Image in the second half of the animation, or add a Show Banner action after the animation in a shortcut, with Wait before running (up to 30 seconds). Ads banners need the Pro plan, see Advertising banners.
- Test with real data: before the season starts, click through every player once using Preview Data.
Ideas for variations
The same design covers other moments too:
- Red card: copy the layout, switch the colour to red and change the title. With Player Image (matching the animation), the card pose appears automatically.
- Substitution: the Substitution animation has its own variables such as Player Out Name and Player In Name, plus numbers and portraits.
- Penalty or own goal: there is no built-in animation for these. Create one with New custom animation, for example "Penalty". If it uses player data, the controller opens the player selection for both teams when you play it.
- Goal sponsor: a custom "Goal presented by" animation that a shortcut plays after the goal animation.
- Hat-trick or milestone goal: a custom animation using the Player Celebration image, kept for special occasions.
The controller card shows at most 8 animation tiles. Hide rarely used ones such as Offside with the eye icon to make room for your own.
Frequently asked questions
How long does it take to make a goal animation?
About 10 minutes with a starter template and your photos ready. If you set your own keyframes in Advanced mode, allow more time.
Can the animation show a photo of the goal scorer?
Yes. Bind a Dynamic Image to Player Goal Pose or Player Image (matching the animation). Without a goal pose, LemonScore shows the portrait.
Do I need a licence for the goal jingle?
Usually yes, if you play music in public: through SUISA in Switzerland and GEMA in Germany. See our posts on music licensing in Switzerland and in Germany.
Does the goal animation update the score automatically?
No. Score and animation are separate. With a shortcut (Pro plan) you can put both on one button.
Can I move the goal animation to another computer?
Yes. Export in the set's menu saves everything, including images and sound, as an .lsanim file that you load on the club computer with Import.
Which plan do I need?
The animation editor is in every plan, including the demo. Shortcuts, Stream Deck and ads banners need Pro. See Pricing for the overview.
Every control is described in the docs for the animation editor and animations.